Merchant Quickstart
This page will guide you through your first steps accepting KAS payment through Kasway.
Connect Your Wallet
To connect your wallet, click the Connect Wallet button at the top right corner of the landing page. You will then be prompted to choose from the list of supported wallets.
INFO
You do not have to worry about your personal data, or private key. We do not store either of them except your wallet address that is required for us to send your funds from our PDA to your wallet.
WARNING
Make sure to connect using the correct network. The app will refuse to connect when incorrect network is used and error message will appear on the bottom right corner of your screen.
Complete the Onboarding Process
Once connected, you will be redirected to the onboarding page. This page will help you set up the app by guiding you through essential configurations, such as choosing your preferred currency for fiat-to-kaspa price conversion, setting up your merchant profile, and customizing basic transaction settings.
💡 Pro Tip!
You can try a different settings that suites your need using test payment functionality.
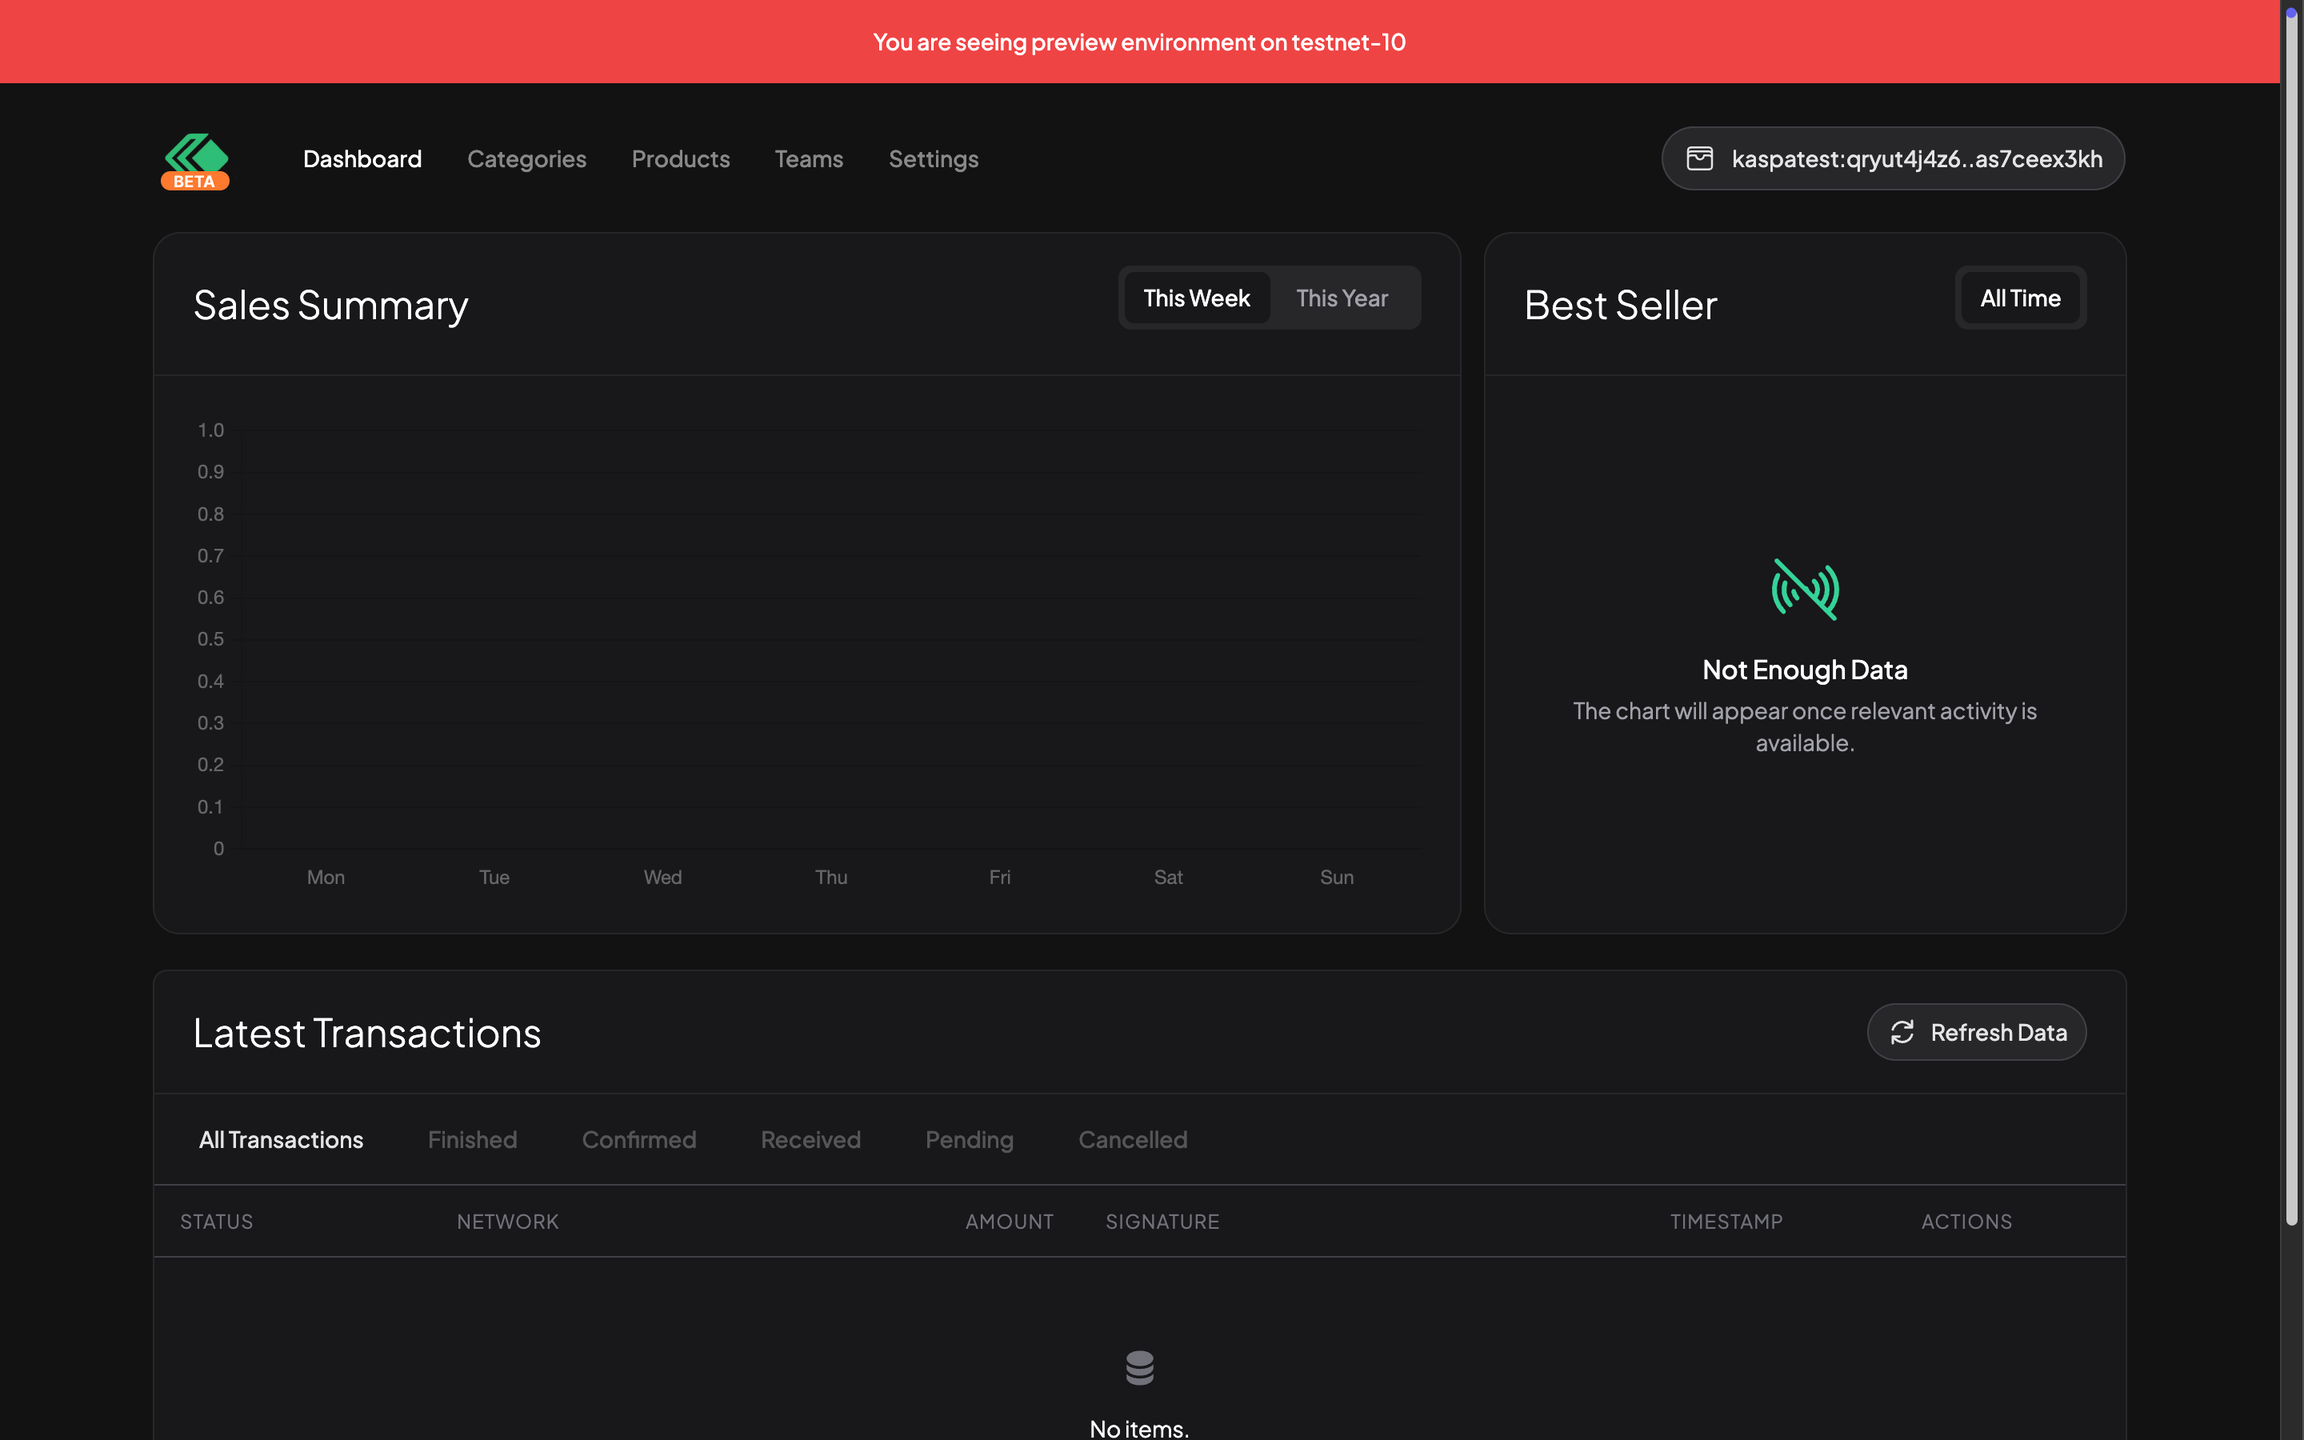
Enter your Dashboard
After completing the onboarding steps, you will be redirected to the Dashboard page. This page will be the default page when reconnecting your wallet. In here, you can manage your products, categories, and your team.
Create Your Product
To create your product, simply go to the "Products" menu on the top left corner of your screen. You might be thinking that why we skipped the categories part. This is because in fact, you can create new categories along with the product without going there at all.
Next, click on the "Add New Product" button on the right to create your product.
WARNING
Depending on the preferred currency you have chosen before, the label of the price input will show the code of the your preferred currency, you should enter the FIAT amount, not the other way around. That amount will be converted to KAS and automatically be adjusted to follow the price from CoinGecko every 1 minute.
Create a Team
Kasway was designed to be used with a team. It does work for a single-person business, but you will need to create a team and assign yourself as the member to be granted access to the cashier panel. The steps are quiet similar with creating your product.
Inside the form, you will see a role selector. It mentions "Leader" and "Member" (the default). Here is the differences:
| Role | Can Manage Resources | Can See Statistics* | Can act as Cashier | Can Login with Username | Can Login with Email | Can Change App Settings |
|---|---|---|---|---|---|---|
| Wallet (You) | ✅ | ✅ | ❌ | ❌ | ❌ | ✅ |
| Leader | ✅ | ✅ | ❌ | ❌ | ✅ | ❌ |
| Member | ❌ | ❌ | ✅ | ✅ | ❌ | ❌ |
*Leaders can only see their team's statistic. They cannot see your overall sales/revenue.
Each team should have at least 1 Member that act as a cashier. Leader, on the other hand, is optional. You can act as a Leader and manage stuffs yourself by simply connecting your wallet if you don't have someone you trust for to do it.
And that's it!
Congratulations! You've just completed the overall flow of integrating your business into accepting Kaspa through Kasway. The next step is to tell your team Leader/Member to login using the credentials you have registered before.